


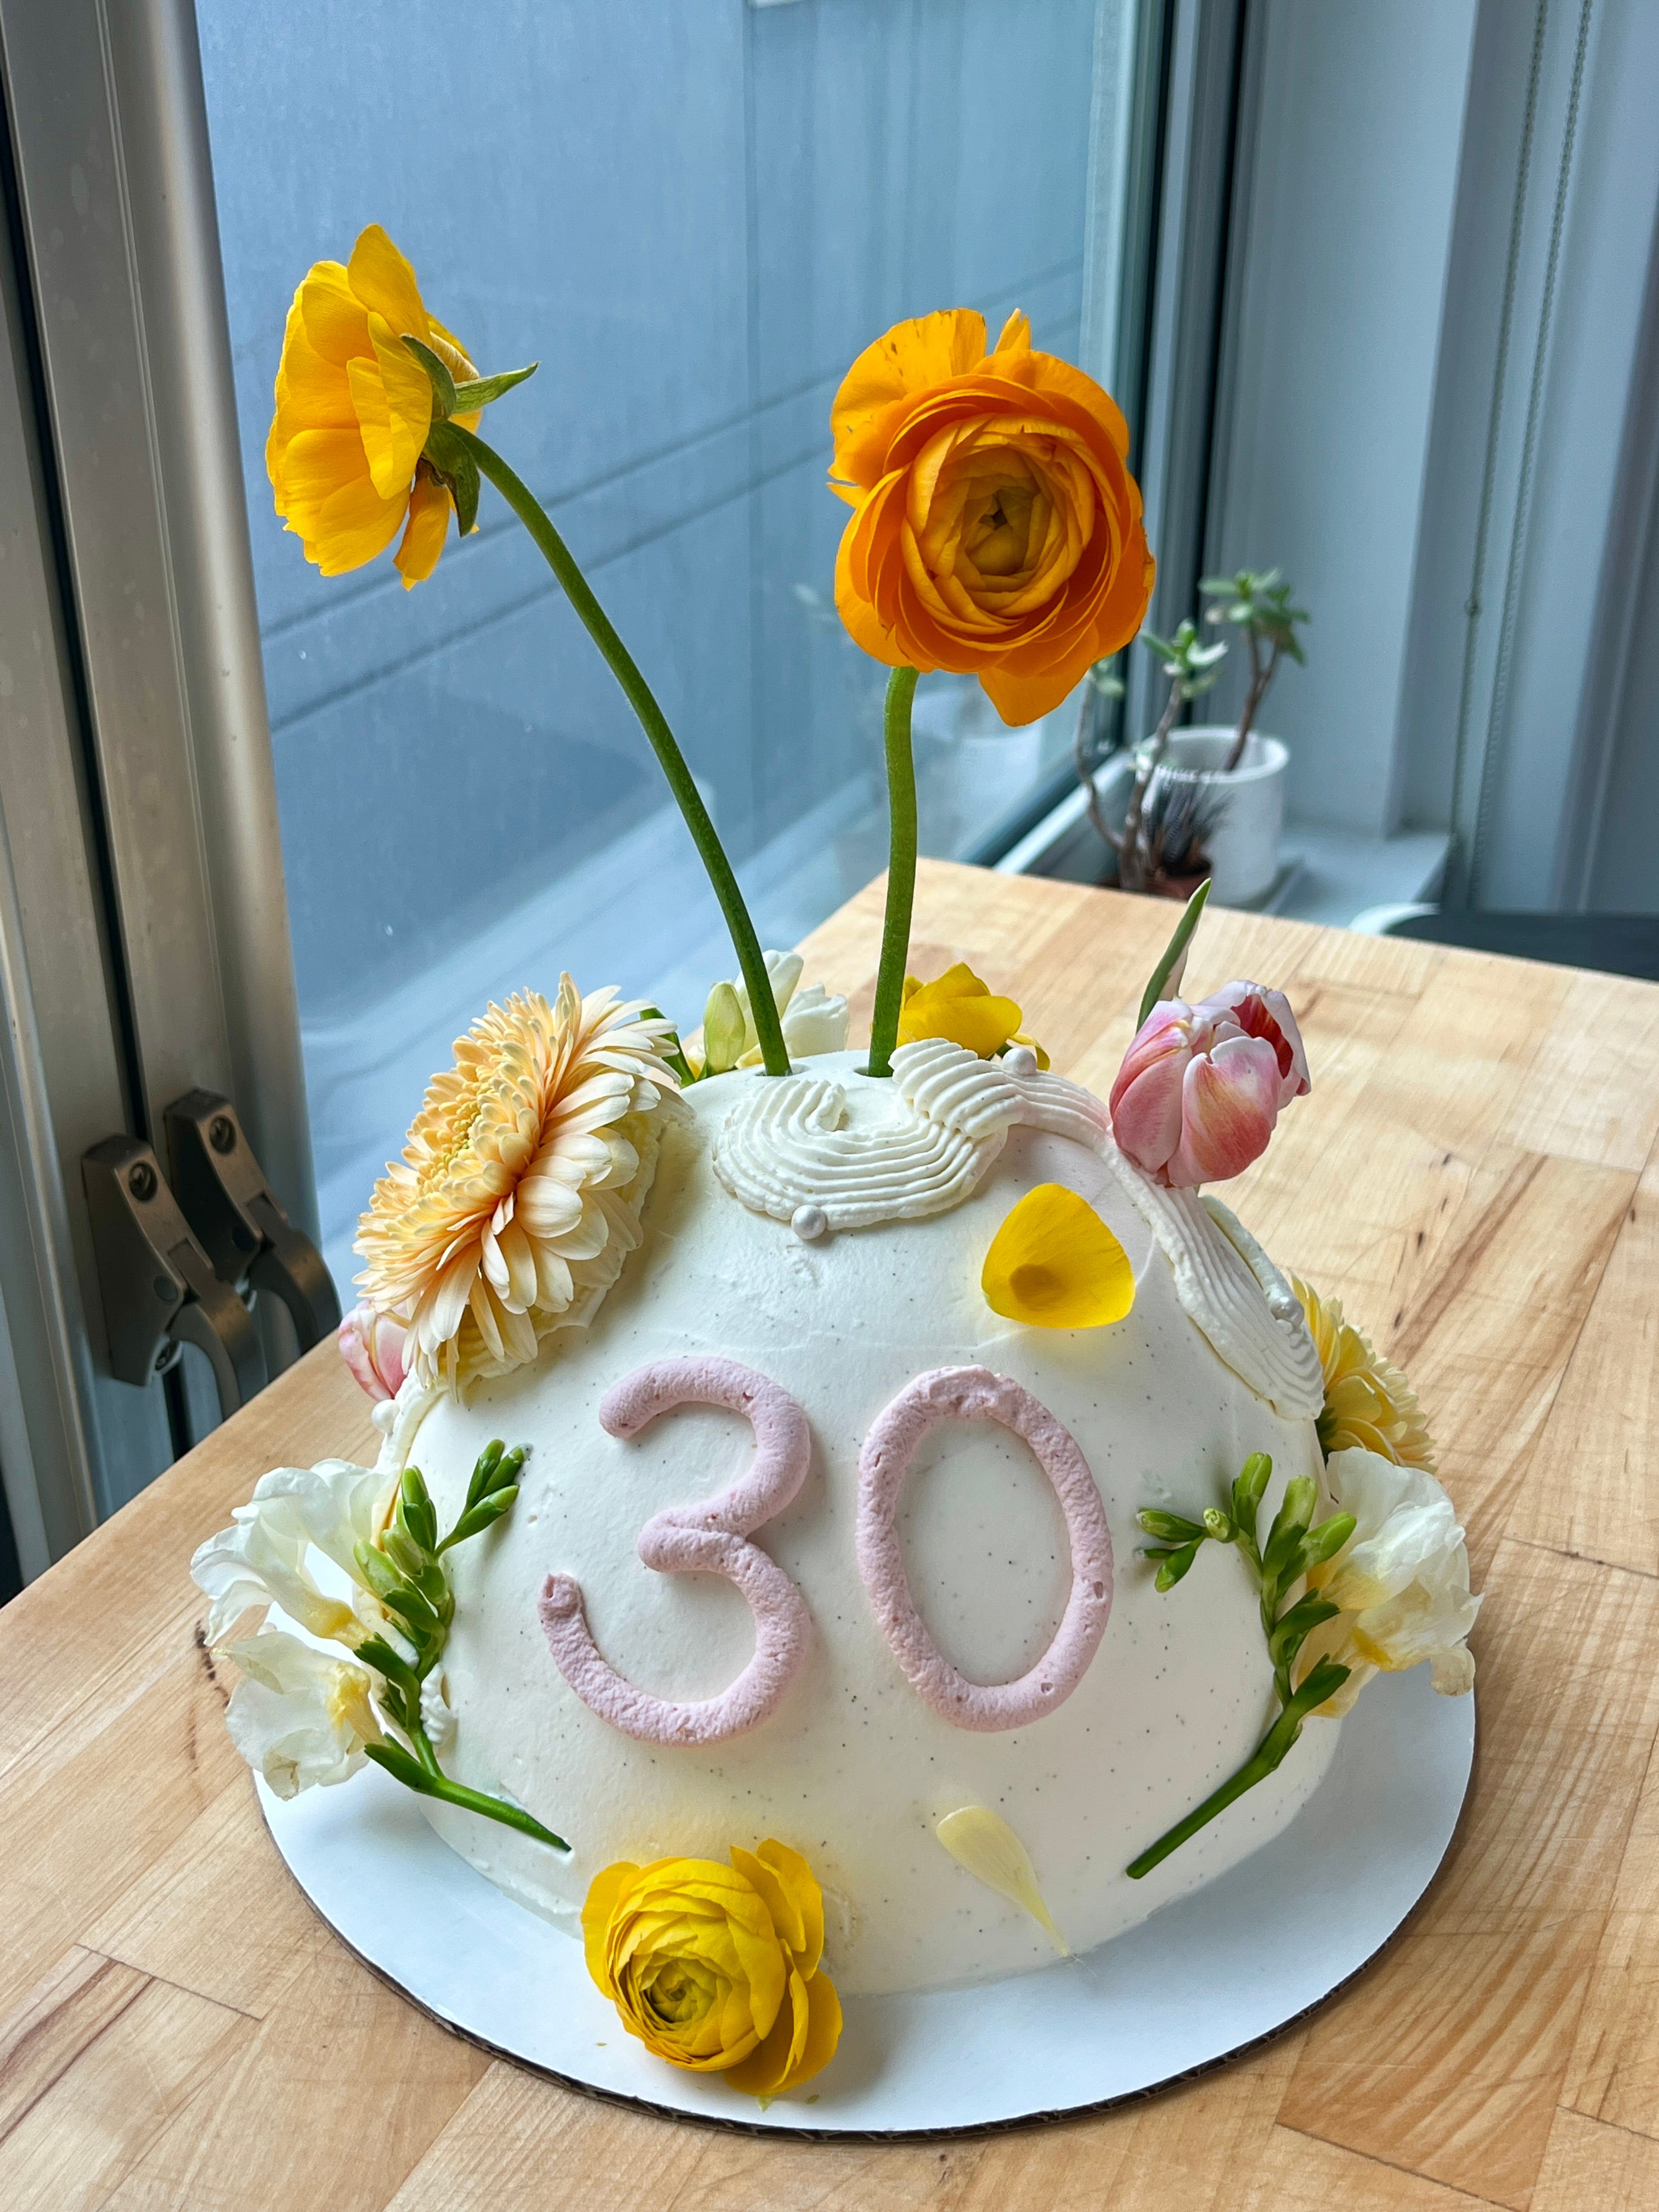
mango + strawberry + oolong dome cake
a cute lil commission for a friend's 30th birthday

Hello and welcome to the second edition of cake notes, my public notebook where I document my cake builds and learnings!
Late last year a friend of a friend reached out to me via Instagram (follow me @gabrianna hehe) asking if she could commission me to make a cake for her 30th birthday. While I wouldn’t say I’m trying monetize this hobby (I mainly make cakes as gifts for close friends’ birthdays), I will take on the occasional commission if it fits my schedule and I think the project is doable, so I accepted!
The requested flavors were mango and strawberry. We did discuss the possibility of adding a matcha element, but after talking a bit we decided that we didn’t want to risk the grassy flavor of matcha overpowering the fruits, which were the main event. (Matcha + one fruit maybe would have worked, but I think two different fruits as distinct as mango and strawberry needed a lil space to work together.) Instead, we opted to incorporate oolong into the flavor profile, which we thought would complement the fruit better, but in a more subtle way.
As for the shape, she saw on my Instagram a cake I had made recently for a friend that was dome-shaped and requested something similar. I’ve only made a dome cake a handful of times, and I had quite a few follow-up notes from the last dome cake I made that I wanted to implement, so I was excited to try my hand at another one. As you’ll see in my notes, though, I still have yet to perfect my technique and have even more ideas on what to do differently next time….
mango + strawberry + oolong dome cake
served ~8-10 people
vanilla sponge cake
Recipe: 1x Natasha Pickowicz’s Vanilla Sponge Cake recipe (just the sponge), no modifications
Structure: I based my dome structure off of Natasha’s instructions for her Almond, Green Tea, and Blueberry Bombe cake:
One 3” circle of cake
One 5” circle
One 6” circle
One 7” circle
Pan configuration:
Although Natasha’s instructions call for the batter to be baked in a single 18x13” (half sheet) pan and then for you to cut out the four circles of cake layers from it, I tried to eliminate having cake scraps left over (as I talked about in my last post) and instead divided the batter into a 3”, a 5”, a 6”, and a 7” pan. (Yes, my cake pan collection has gotten out of control.)
If you’re wondering how I decided how much batter to pour into each pan to get the layers to be of equal height, I used the *extremely* scientific and precise method of eyeballing it, and then dipping my little offset spatula into each of the pans to check the levels after pouring, similar to checking the oil in your car. Being careful not to knock out too much air from the batter, I used the same spatula to transfer batter from one pan to another as needed to balance them out.
Unfortunately, the change in baking vessels resulted in thicker layers (duh) that caused my constructed cake stack to grow taller and steeper than I would have liked; I was aiming for a shallower dome that was closer to the actual shape of my dome cake pan. (If you’re unfamiliar with this cake-building method for domes, I’ll go over it in a bit.) It probably should’ve been pretty obvious that this would happen, but I didn’t expect the gap to be THAT huge.
Next time: Because I will continue to do everything in my power to keep my freezer clear of cake scraps (there are only so many trifles I can stand to eat!!!), next time I will try using the same cake pans but only make 5/6 (five sixths) of the recipe. (It calls for 6 whole eggs, hence the weird fraction.) Hopefully this will result in slightly thinner cake layers that don’t cause the constructed cake stack to grow as tall so steeply, so that it better fills out the width and shape of the bowl.
oolong soak
Using a pastry brush, I dabbed each cake layer with a mixture of sugar and oolong tea (from a bottle of Ito En brand oolong that I bought from my local Japanese mini-mart). I mixed about ½ cup of tea with 1 Tbsp of granulated sugar and microwaved it just enough to dissolve the sugar.
Next time: Unfortunately I think the flavor of the oolong was too subtle to stand up against the tartness of the mango curd; I couldn’t really taste it in the cake sample I put together.* Next time, I might try either (a) reducing the oolong down over the stove to concentrate the flavor, (b) brewing my own strong batch of oolong using looseleaf tea, or (c) flavoring the sponge cake itself with some ground up oolong tea leaves.
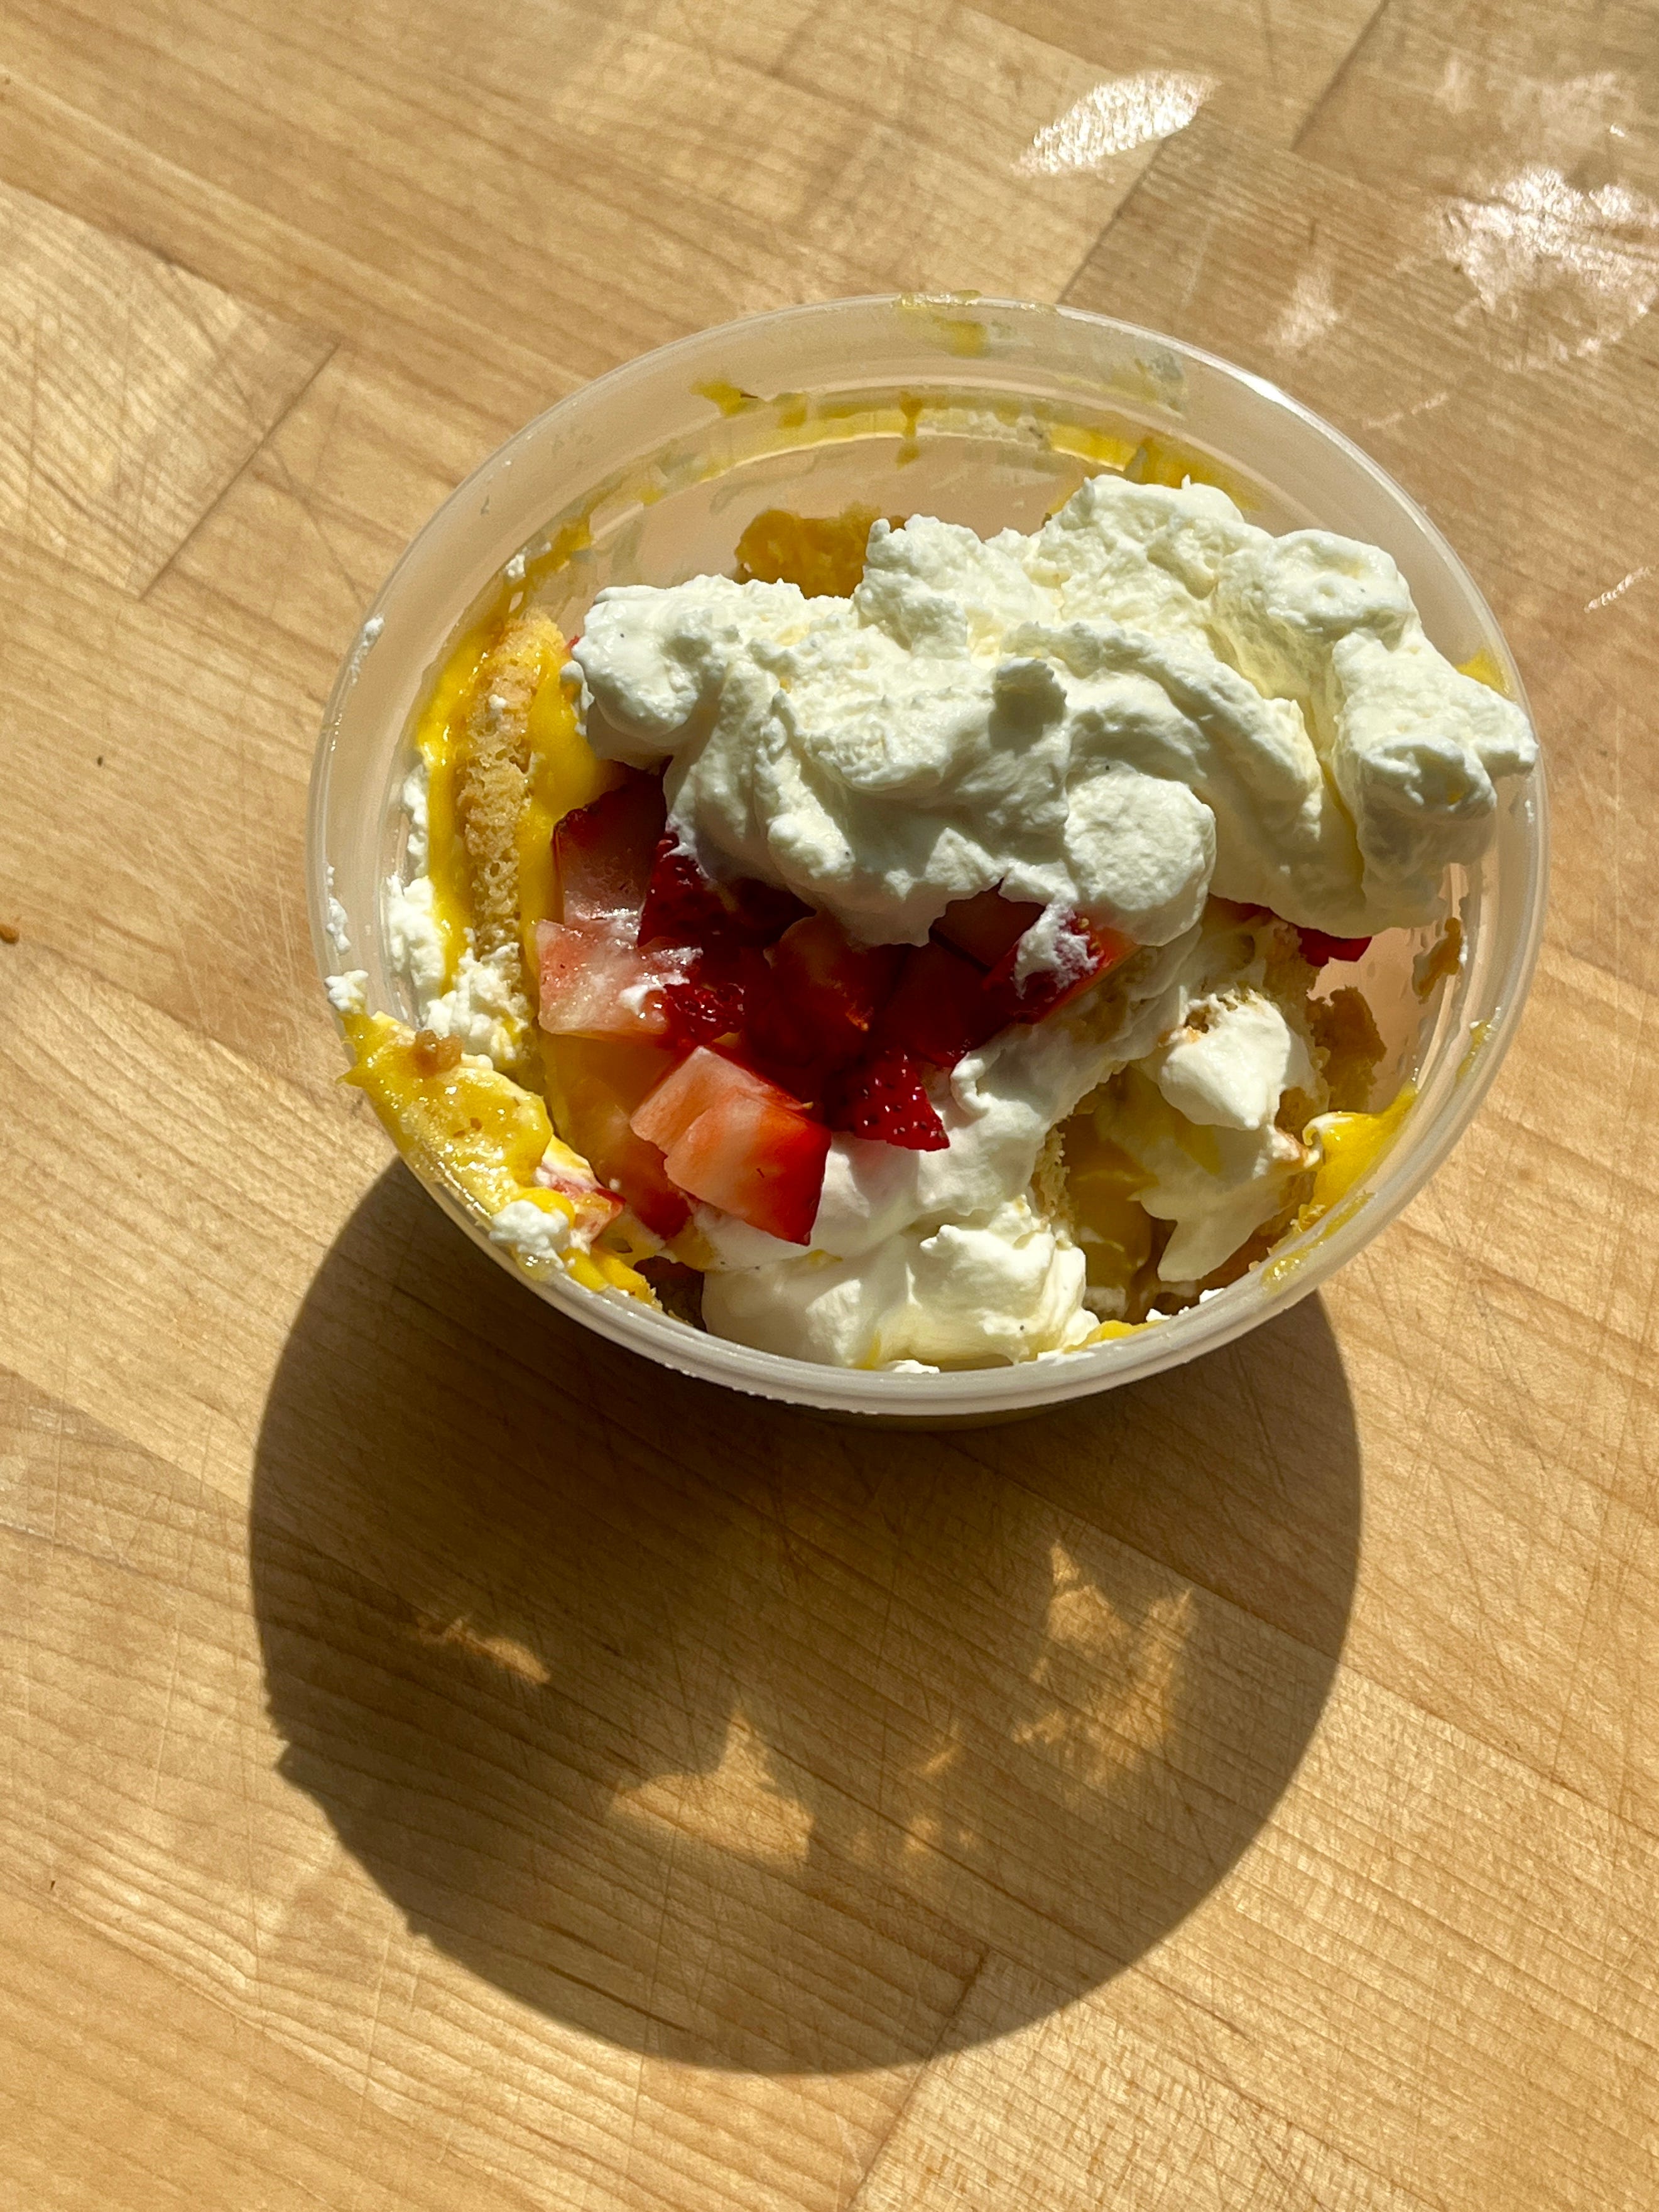
*If you’re wondering how I put together a cake sample allegedly without cake scraps…. I actually did end up shaving a thin layer off of my layers in an attempt to reduce their height. And okay, so I admit that sometimes having cake scraps is useful for putting together a cake sample!!! But in this case I idiotically didn’t construct my sample before building the final cake (the sample was more of a chef’s treat for myself that I made with the leftover cake components I had), so I didn’t have the foresight to make any adjustments to up the oolong flavor.
mango curd
Recipe: 1x Nicola Lamb’s recipe for Mango Curd, no adjustments
No notes!! Her recipe is pretty excellent, and it yielded just the right amount (300g) for my dome cake, plus a little extra for my chef’s treat. Nicola does SO much R&D for her recipes, so I really trust her work; Kitchen Projects is one of only two Substacks that I pay for lol. That being said, this recipe is paywalled, but I highly recommend becoming a paid subscriber!!
whipped mascarpone frosting
I used a 2:1 ratio of heavy cream to mascarpone and added powdered sugar and vanilla extract to taste. Y’all, I was so happy because this time I didn’t overwhip the cream, so the final frosting layer was nice and smooth
For the piped “30,” I took a small portion of frosting and mixed in some freeze-dried strawberry that I pulverized with my spice grinder until it was a nice pink color that I was happy with. Unfortunately the piping turned out a bit grainy, probably because I whipped more air into it after mixing in the strawberry powder 😔
I ended up using 4 cups of heavy cream total, which yielded about 1½ cups of leftover of frosting, some of which I used for my chef’s treat
construction & decor
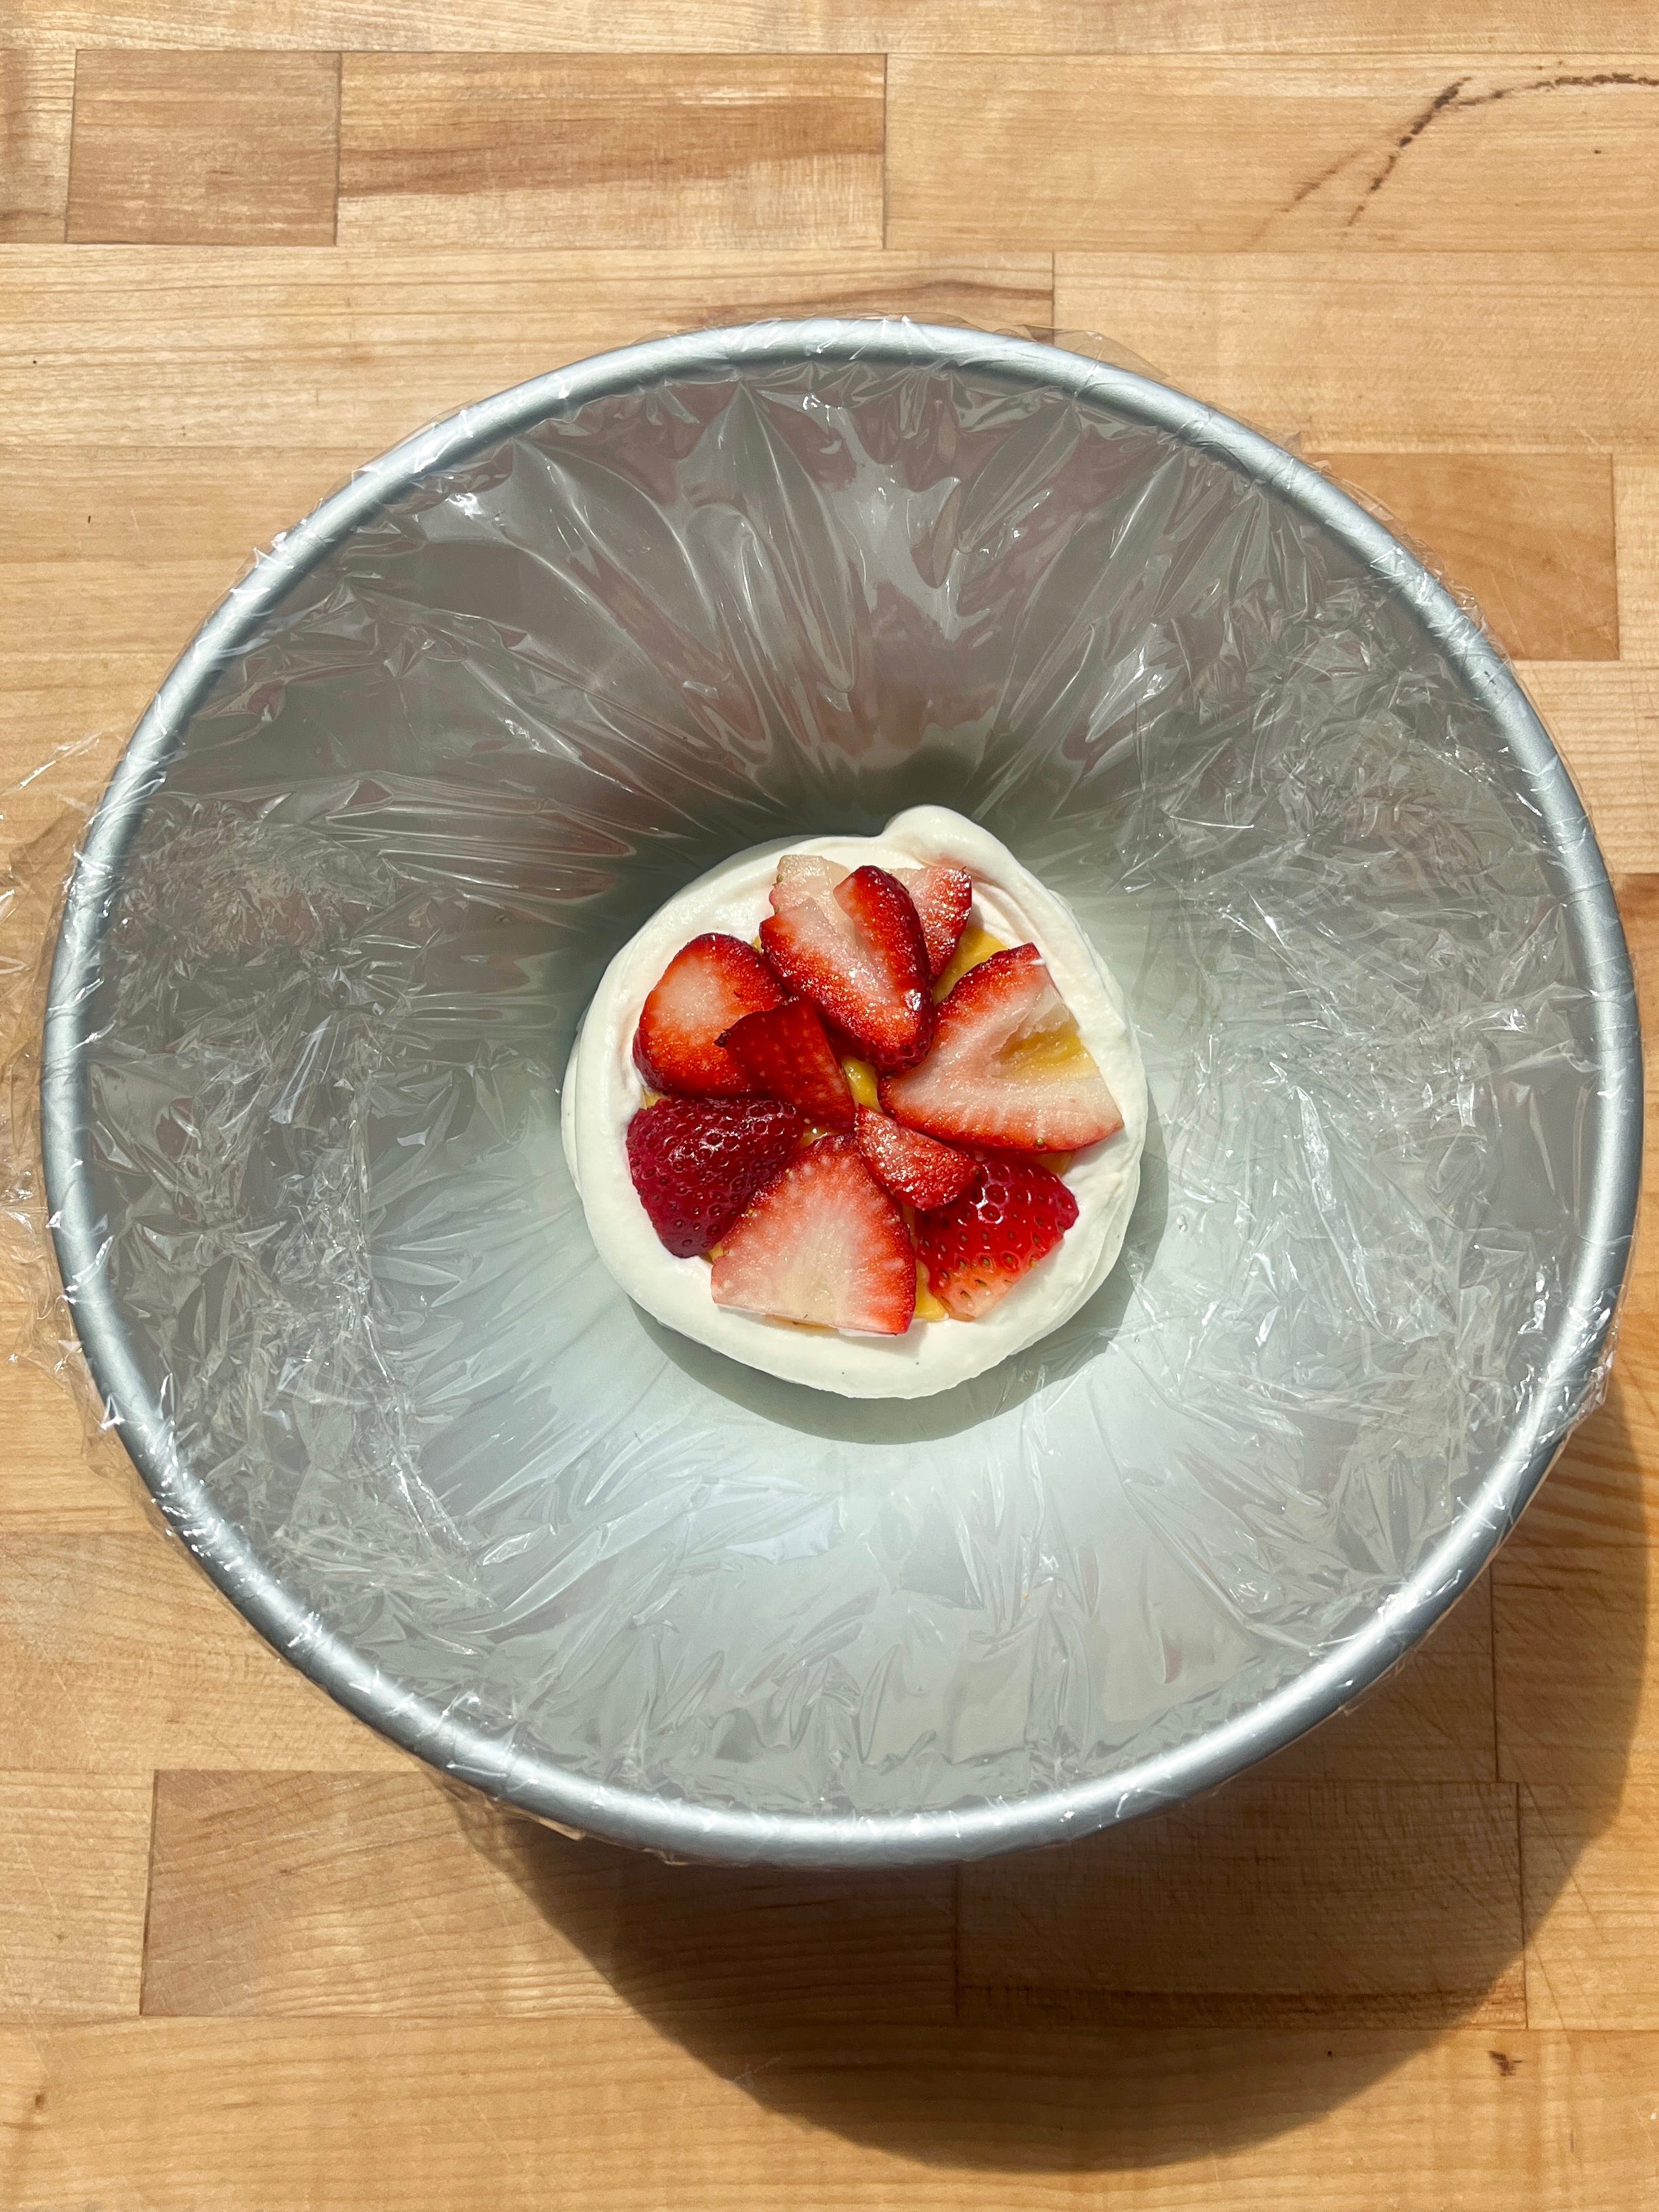
I followed Natasha’s method of building the cake in a plastic-wrap-lined bowl, letting it set in the fridge for a day, and then inverting it onto a cardboard cake round before frosting
Starting with the 3” cake layer, the stack order was: cake layer, oolong syrup dabbed onto the cake with a pastry brush, mango curd, sliced strawberries, whipped mascarpone cream. Repeat, ending with the 7” layer dabbed with oolong syrup.
Because of the aforementioned gap between the cake stack and the bowl, I piped a ring of whipped mascarpone around each cake layer. This resulted in a pretty thiccc layer of frosting, most of which I ended up scraping off anyway after unmolding. This almost defeated the purpose of building the cake in the bowl since it essentially reshaped the cake…. But I would say building it in a bowl still helps you stack the layers more accurately concentric as opposed to freeform stacking them, which you risk sliding the layers around when you’re smearing your components on.
To get as smooth of a finish on the frosting as possible, I used a flexible plastic cake smoother. You hold the sheet of plastic almost perpendicular to the cake while slightly bending it into a curve with your thumb and rotating the cake. The bend in the plastic creates a smoother curve that’s harder to get with just a flat offset spatula!
I piped the ribbon using an Ateco 897 basketweave tip and the “30” with a round tip (I forgot which exact one, but the opening couldn’t have been more than half a centimeter in diameter)
Finally, I dotted the ribbon with little edible pearl sprinkles and decorated the cake all over with ranunculus, gerbera daisies, freesias, and tulips from Trader Joe’s. As always, the stems that I pressed into the cake were wrapped in floral tape to prevent any flower stem juices seeping into the cake. I also reinforced the little ranunculus antenni with floral wire to prevent them from drooping too much!


Thanks for making it through to the end! As always, feel free to leave a comment if you have any questions on this cake stack (:
cake box mod very big brain